
Last updated November 18, 2026
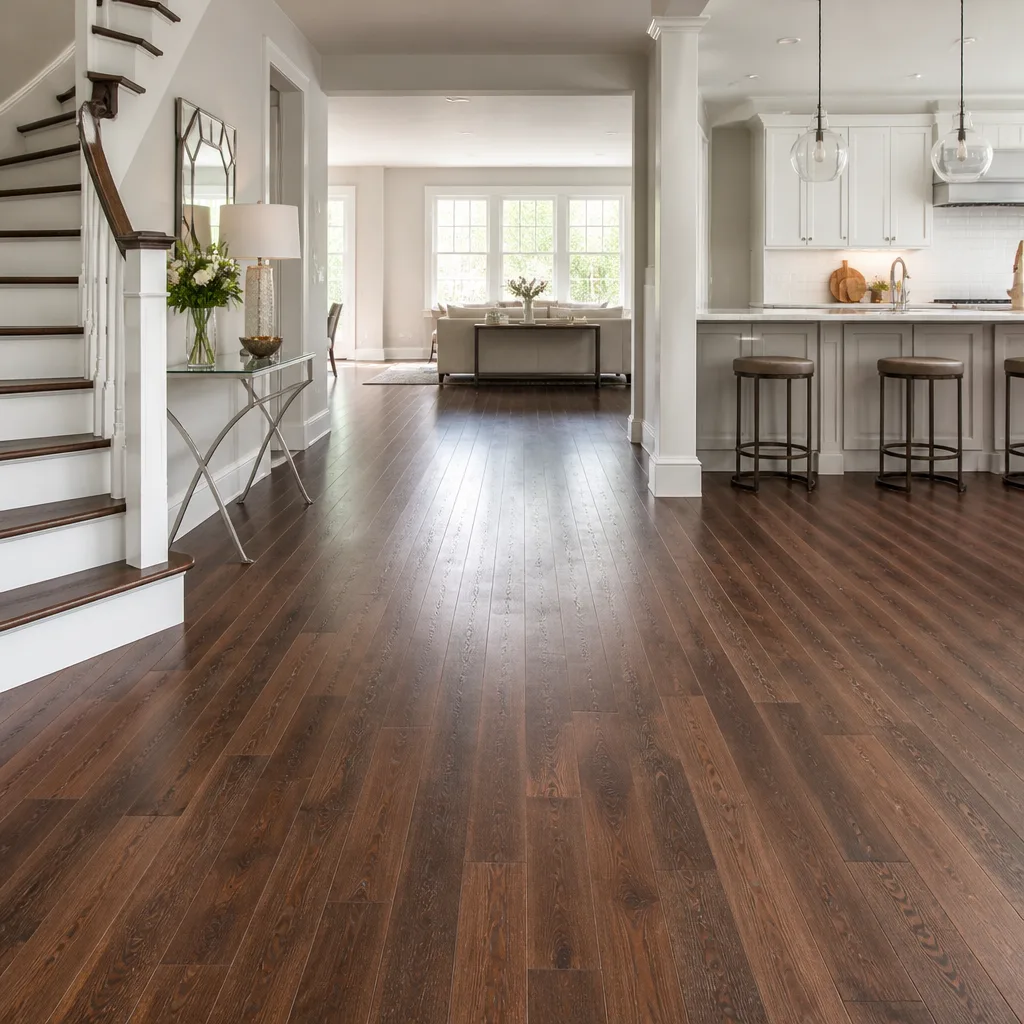 Hardwood
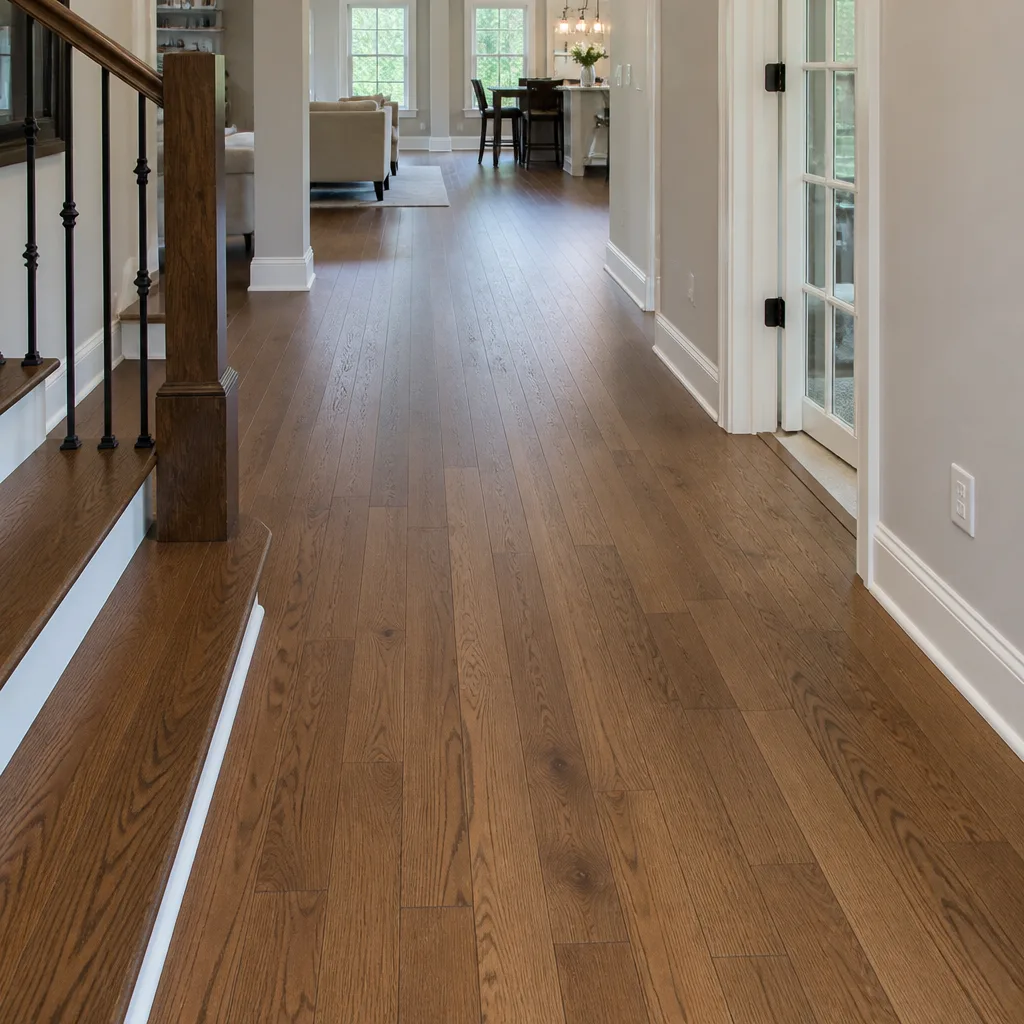 Engineered hardwood
 Luxury vinyl plank
 Laminate
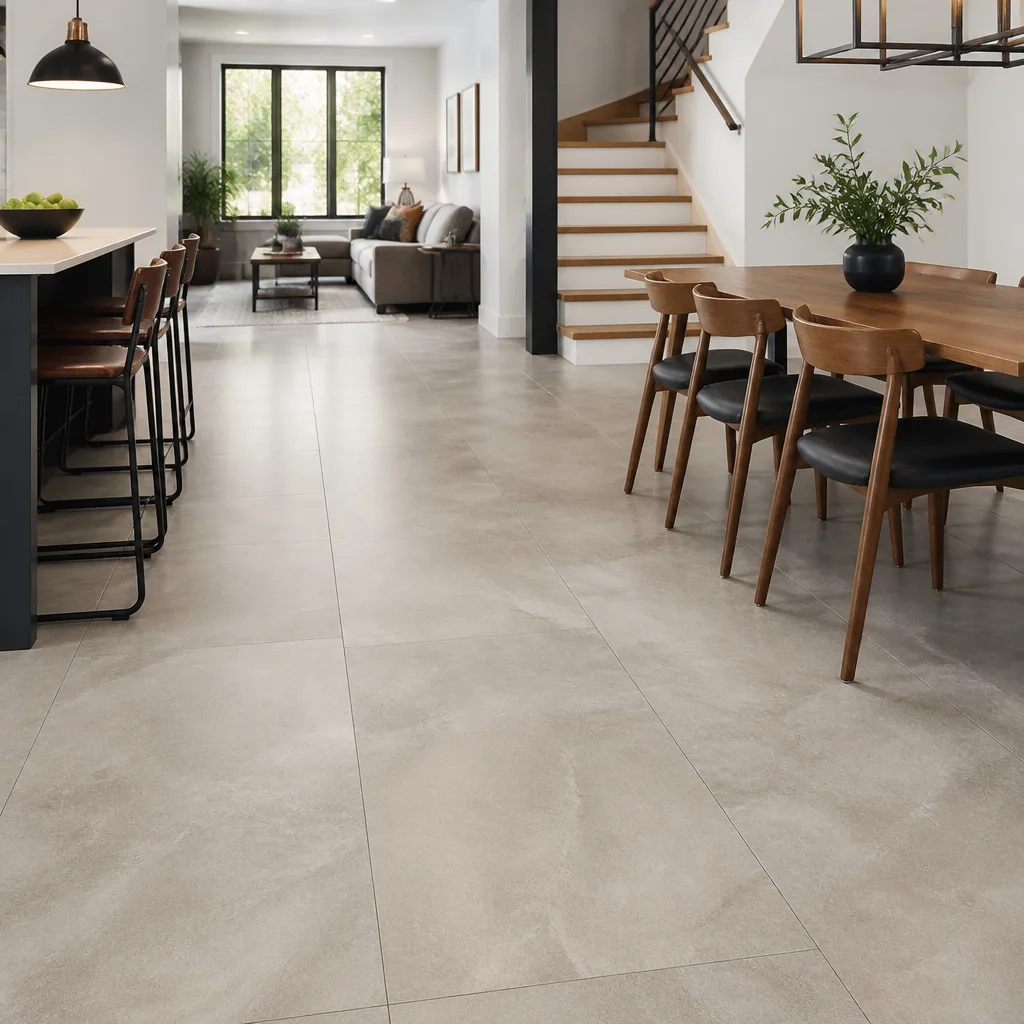 Porcelain tile
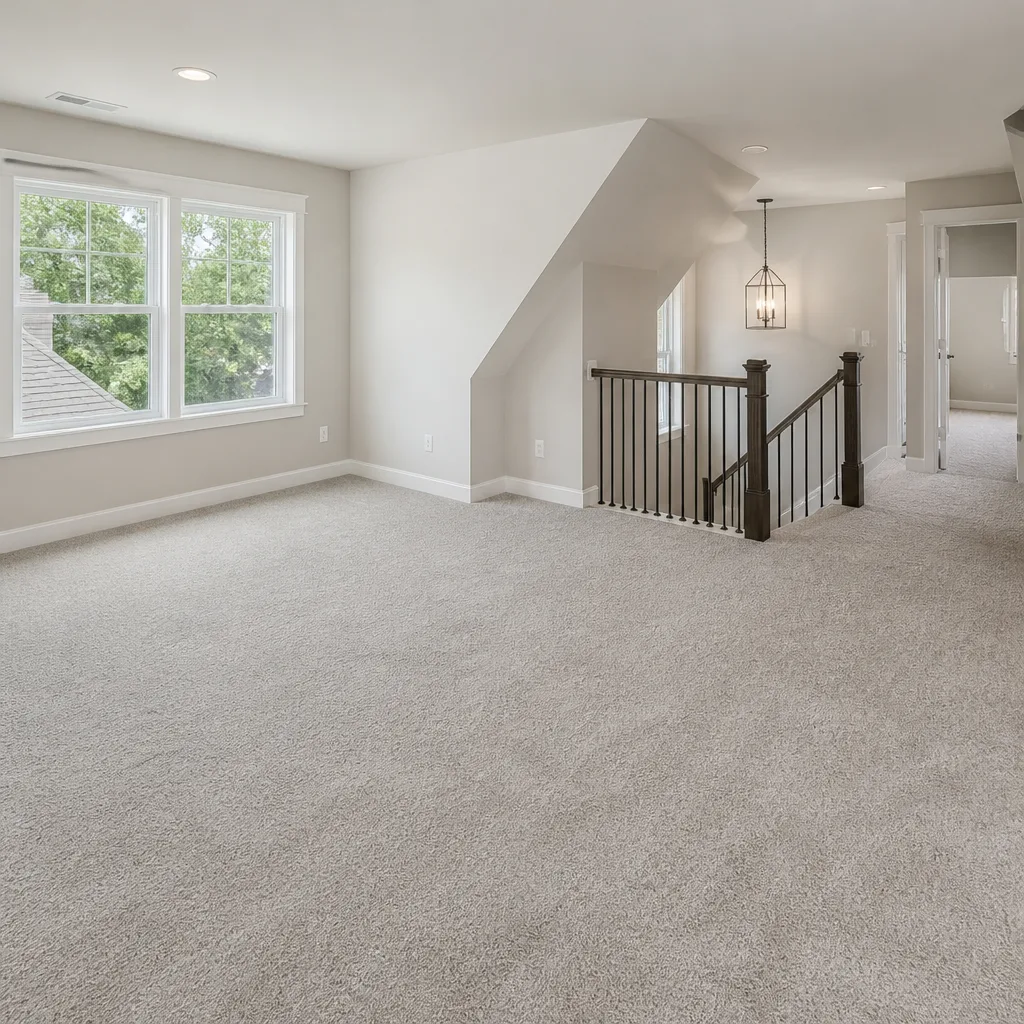 Carpet
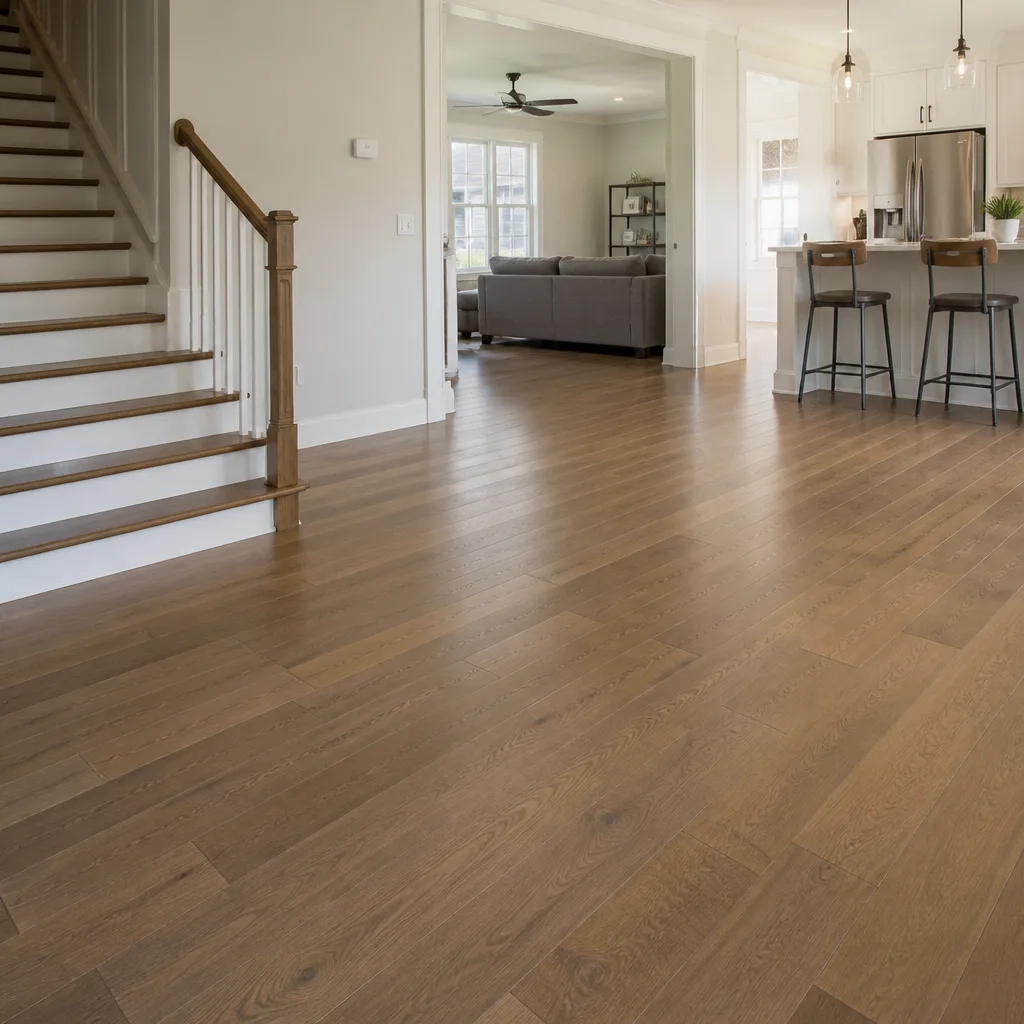 Shaw
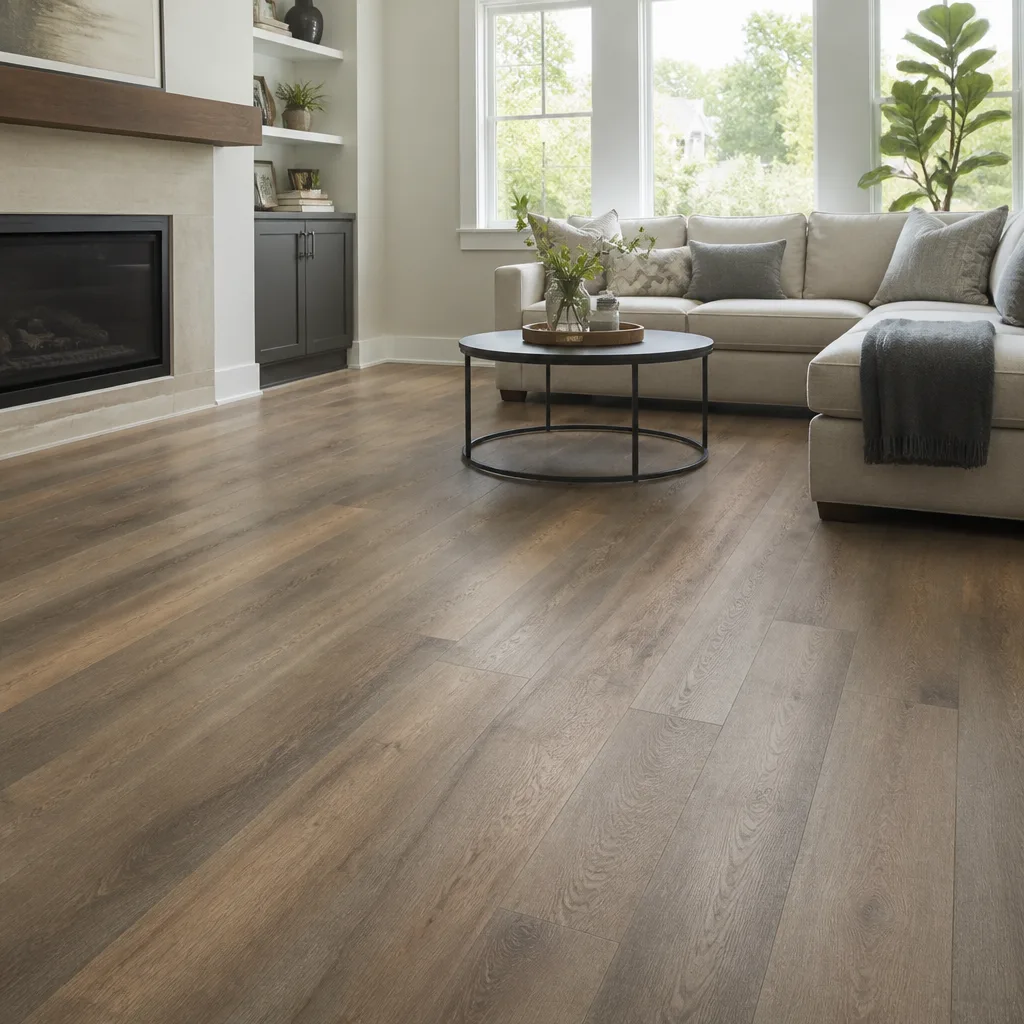 Mohawk
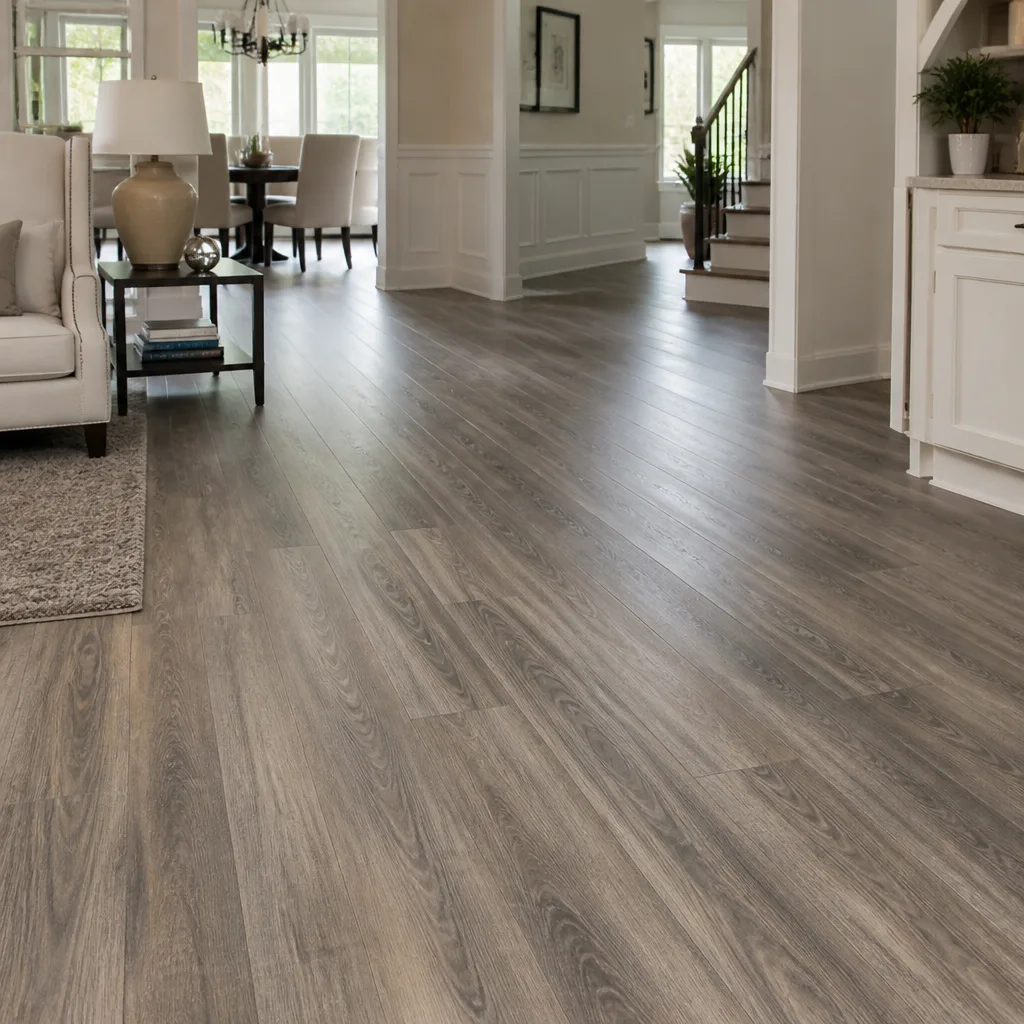 COREtec
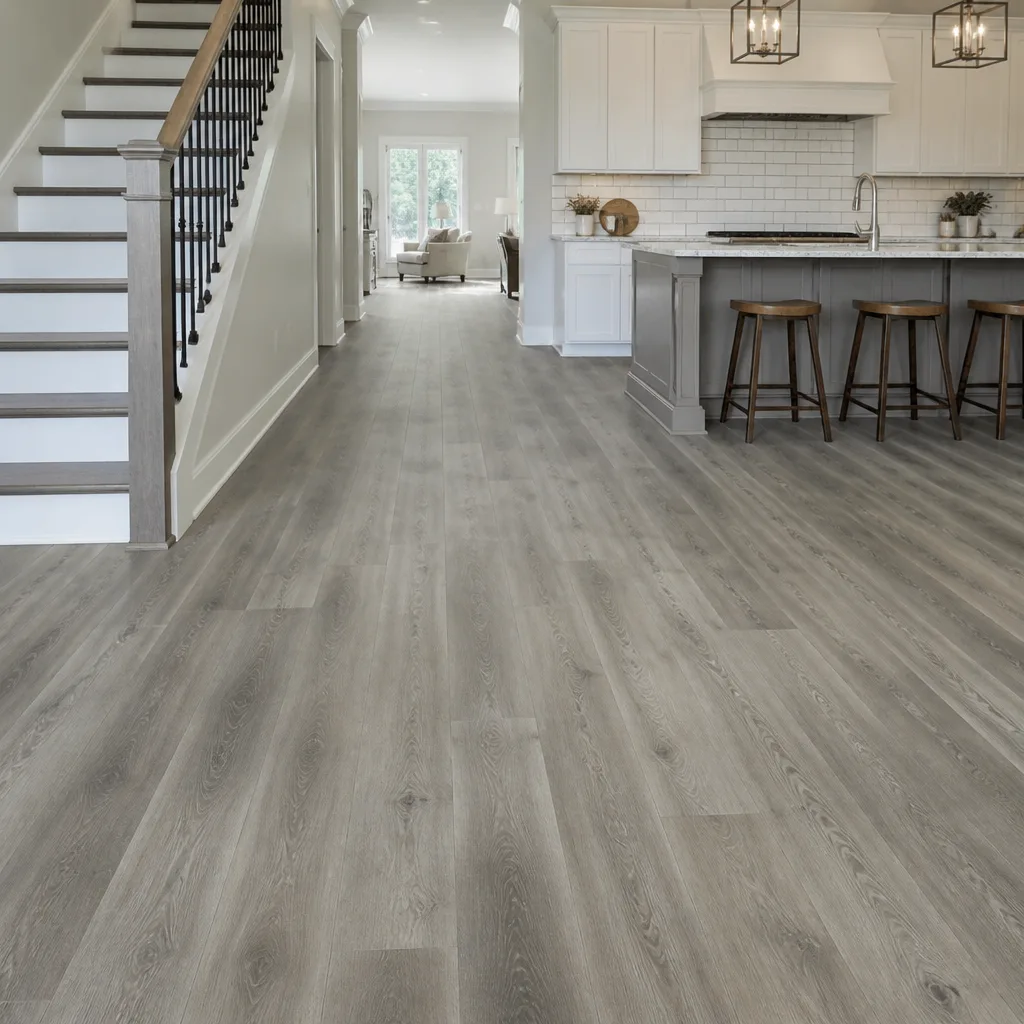 Pergo
Free in-home measure and written estimate: Shaw, Mohawk, COREtec and Pergo lines compared on your own rooms, with carpet, tile, vinyl plank, laminate and hardwood laid out side by side
Get your free estimateHow to Prepare Your Home for a Flooring Installation in Las Vegas
Most homeowners treat installation week like a moving job. They clear the furniture, pull the old carpet, and wait for the crew. But the two weeks before installation day shape the final floor more than anything that happens on it. We’ve watched beautiful materials fail early because they were never given time to settle into the home’s air, and we’ve watched budget floors perform for years because the prep was done right. In this guide, we walk through the preparation steps that actually protect your investment in Las Vegas: acclimation, climate control, subfloor checks, furniture logistics, and traffic management during cure times.
Quick Answer
To prepare for a flooring installation in Las Vegas, bring materials into the home and let them acclimate to interior temperature and humidity for the period your product instructions specify, keep the HVAC running at a stable setting through installation day, clear the work area and protect walls and doorframes during removal, and keep foot traffic off adhesive and finish during cure. The written estimate from your installer should spell out acclimation windows, subfloor findings, and the install schedule.
Styles & brands we work with
- Hardwood
- Engineered hardwood
- Luxury vinyl plank
- Laminate
- Porcelain tile
- Carpet
- Shaw
- Mohawk
- COREtec
- Pergo
Table of Contents
- Why Acclimation Matters More in Las Vegas
- The Las Vegas Acclimation Timeline by Material
- What to Tell Your HVAC Service Before Installation Week
- Subfloor Inspection Prep
- Furniture Logistics That Protect Your Home
- Pets, Kids, and Traffic During Cure Times
- What Belongs in the Written Schedule
- Day-of and Pre-Installation Checklist
Why Acclimation Matters More in Las Vegas
Flooring needs to reach moisture and temperature equilibrium with the room it will live in before it’s fastened down. Skip that step and the material installs at one size, then expands or shrinks when it settles into the home’s air. The result is gapping between planks, cupping in wood, buckling at seams, or adhesive joints that fail before the floor has broken in. In Las Vegas, the gap between the manufacturing environment and your home’s interior can be substantial. Climate-controlled indoor air in a desert home can sit far drier than the humidity a board was milled in, and the swing is often more extreme here than in milder climates where most product instructions are written.
That’s why manufacturer minimums aren’t always the right target for this market. A board that acclimates against a Las Vegas summer interior is settling into an environment that may change again when the air conditioner cycles down in October and the heating season begins. The two-week window before installation is your chance to let materials catch up to the room, not to race against the calendar.
Acclimation is also a paperwork step. The box, the carton label, and the product instruction sheet carry the manufacturer’s stated acclimation period, and your written estimate should reference it. When we install a product like Pergo or Mannington, we follow those product instructions and confirm the sequence with the homeowner before the material comes in the door.
What you shouldn’t do is open the cartons in the garage or the back patio. Garages and patios in Las Vegas swing much hotter and drier than the conditioned interior, and a board that spends its acclimation in a garage is acclimating to the wrong room. Bring materials inside the home, spread them where the floor will go, and leave them be for the period the instructions call for.
If your installation is happening in a bedroom or a room that will be closed off, run the HVAC in that room the same way you’ll run it after the floor is down. Acclimating in a closed, uncooled room sets a different target than the rest of the house. That subtle mismatch is one of the leading causes of post-installation gapping and buckling we see on callbacks.
The Las Vegas Acclimation Timeline by Material
Manufacturer instructions set the floor, so use them as the baseline. But in this climate, a longer window is often the safer design. The table below shows typical acclimation planning for the main flooring categories we install in Las Vegas, with the caveat that product instructions and the written estimate set the actual number for your job.
- Engineered hardwood (Pergo, Mannington, Armstrong): Typically planned at the manufacturer’s stated window or longer, with stacks rotated and spaced so air moves around each box. Engineered construction handles interior humidity shifts better than solid wood, but it still needs the room.
- Laminate (Pergo): Planned at the manufacturer’s window, with cartons opened according to the product instructions and left flat in the room.
- Luxury vinyl plank (LifeProof, COREtec, Karndean): Planned at the manufacturer’s window, and kept inside the conditioned home rather than a garage or enclosed patio.
- Carpet: Carpet rolls generally settle in the room faster than hard surface, but your installer will confirm the schedule for the specific product.
- Tile (Daltile, and other ceramic and porcelain lines): Acclimation is less about board moisture and more about the substrate and setting materials. The tile should sit indoors and the substrate should be checked before install day.
The plain truth: any window that gets you inside the manufacturer’s instructions and gives the material a few extra days in the room is usually safer here than a bottom-of-the-spec minimum. When we quote a job, the acclimation window is a line in the schedule, not an afterthought. If you want a specific read on timing for the material you’ve chosen, you can always call (888) 268-1308 and talk through it. Estimates are free.
If you already know you want a specific brand, tell us that up front. We install Shaw, Mohawk, COREtec, Pergo, LifeProof, Mannington, Armstrong, Daltile, and Karndean, so the acclimation plan can be built around the exact product family you’re bringing in.
What to Tell Your HVAC Service Before Installation Week
Your HVAC system is part of the installation team, whether or not anyone says so. The system keeps interior temperature and humidity stable, and stability is what makes acclimation matter in the first place. Before installation week, do three things:
- Get the system inspected and running normally. If the unit has been short cycling, blowing warm, or shutting down, schedule service before installation week. A floor that acclimate to a home with a failing system will be acclimating to the wrong environment.
- Agree on a stable setpoint. Ask your HVAC technician for a steady temperature and humidity target that will hold through installation day and cure time. Don’t turn the system off overnight or during the work, and don’t switch between heavy cooling and open windows.
- Tell your installer the plan. Note the setpoint and any HVAC work in the written schedule so the crew knows what environment to expect when they arrive.
Adhesive and finish cure times are sensitive to temperature and humidity. In our experience, the biggest cause of a slow-curing adhesive in a Las Vegas home is a system that was shut off for the day to “let the house air out,” or a room where the vent was closed to keep everyone comfortable. Neither helps the job. Keep the system on, keep the temperature steady, and let the schedule do its work.
If your HVAC technician recommends filters, a filter change, or a quick pre-installation service call, take the recommendation. You’ll be moving furniture and opening doors during installation week, and both pull dust into the air. A clean intake and a properly running system make the whole week easier on the floor, the air, and the people in the house.
Subfloor Inspection Prep
The installer will assess the subfloor, but a few minutes of homeowner homework before that visit makes a big difference. The goal isn’t to fix anything yourself. It’s to identify what you’re seeing and report it so it lands in the written estimate instead of appearing as a surprise line item on install day.
Walk the room barefoot or in socks and note three things:
- Soft spots. Areas where the floor gives slightly underfoot can indicate subfloor deflection or moisture. Mark them with painter’s tape so the installer can check the same area.
- Uneven areas. A rolling marble, a gap under a straightedge, or a visible hump in the paneling. Leveling and flattening is often part of the quote, but only if the installer knows it’s there.
- Squeaks. Note where they are and which areas get worse when you walk. Squeaks can come from subfloor fastening, joist movement, or the panels themselves, and they’re easier to address before the new floor goes down.
On a slab, look for hairline cracks, visible moisture staining, and any area that feels cool and damp. Las Vegas homes sit on slabs and on raised foundations, and moisture behavior is different between them. If you’ve had a leak under a sink or around an exterior door, say so before install day. Adhesive and underlayment decisions can depend on it.
Take photos of the areas you’ve marked. Attach them to the estimate request or have them on your phone when the installer walks through. Photos help the installer quote the work correctly, which protects both of you from a mid-job price adjustment. If the subfloor assessment turns up work that wasn’t in the original quote, that’s a conversation for the estimate, not the install morning.
Furniture Logistics That Protect Your Home
Moving furniture out of a room is the obvious step. Protecting everything else is the one homeowners forget. Heavy pieces scraping along a wall, a dresser corner catching a doorframe, a stair railing taking a swing from the end of a sofa: those are the damage reports that have nothing to do with flooring and everything to do with how the room was cleared.
- Clear a path before moving day. Remove picture frames, shelves, and wall decor from the hallway and the work area. Anything on a wall near a doorway is in the swing zone of a large piece of furniture.
- Protect doorframes and corners. Slip cardboard, moving blankets, or corner guards on doorframes and wall corners along the route. The five minutes of taping saves a repair that takes weeks to schedule.
- Wrap the heavy pieces. Blanket-wrap dressers, bookcases, and bed frames. The wrap also keeps drawers from sliding out mid-carry.
- Move up and down stairs with two people. A stairway is where most furniture damage happens. Use a spotter on the uphill end and keep the railing clear.
- Take the doors off the hinges where needed. Bedroom and closet doors come off more easily than they come out of a boxed frame, and a door left in place is a wall corner waiting to happen.
- Stage what stays in the room. Anything that can’t leave the room should be grouped in one corner and off the floor, so the installer can work around it without moving your belongings.
If you’re having a whole-home floor installed, plan a room-by-room order instead of clearing everything at once. It keeps the household livable and gives you somewhere to stage furniture as each room is worked. The Las Vegas Flooring Installation team can factor a room-by-room sequence into the schedule when you discuss the project.
Pets, Kids, and Traffic During Cure Times
Foot traffic during adhesive cure is a quality issue, not just a comfort one. Adhesive that gets walked on before it sets can lose bond at the edges, telegraph footfall dents through the wear layer, and leave a floor with premature lifting that shows up weeks later. The same applies to finish cure on hardwood: a shoe, a paw, or a dropped toy during the drying window can leave marks that don’t buff out.
Here’s how to plan around it:
- Set a contained zone for pets. A closed room, a crate, or a pet sitter for the day works. Paws carry grit into the room that presses into adhesive and finish.
- Plan where kids will be. A playroom on the other side of the house, a grandparent’s house, or a scheduled outing on the low-traffic day all work. Keep kids out of the work zone for the full cure window.
- Ask the installer for the cure window in hours, not “by tonight.” Note it in the written schedule and treat it as a hard cutoff for the room.
- Bring a fan if the installer asks. Air movement helps cure in some products and not in others, so take direction from the install team and the product instructions.
- Keep walkways clear. Even outside the work room, temporary traffic patterns keep the household moving without cutting through a curing floor.
If you have an in-home pet or a toddler, tell the installer at the estimate. The cure window affects scheduling, and knowing about it early lets the crew sequence the room around your household. In a Las Vegas home during the cooling season, the tendency to leave doors open for airflow also lets pets and kids slip in. Plan the containment before install morning, not after.
What Belongs in the Written Schedule
A written estimate and schedule does more than fix the price. It gives you the prep plan in one place. When we put a job together, here’s what we make sure the homeowner can see in writing:
- The acclimation period for the product being installed, with the product instructions referenced.
- The HVAC setpoint you’ve agreed to hold through installation and cure.
- The subfloor findings from the assessment and any work they trigger, so those costs sit in the quote rather than install day.
- The order of rooms for a whole-home job.
- The cure window for adhesive and finish, in hours.
- The day the material is delivered and the day it’s installed, so the acclimation window has real dates.
If a number isn’t in writing, ask for it. That’s not a sign of distrust; it’s the difference between a quote and a schedule, and the schedule is what protects your floor from installation-week surprises. Our technicians have up to 15 years of experience and have seen what happens when a schedule drifts. We build accommodating the plan into the written quote so no one has to remember it on install morning.
For brand-specific questions, name the product you’re planning to install when you request the estimate. Pergo, LifeProof, Mannington, Armstrong, and the rest of the nine brands we work with each have product instructions, and those instructions set the plan. If you want to talk through the sequence and the schedule, call (888) 268-1308 and ask for a free estimate.
Day-of and Pre-Installation Checklist
Put this list on the fridge the week before install. It covers the last few prep points that make the difference between a smooth install and a furniture-and-adhesive scramble.
- Confirm the HVAC setpoint. The system runs steady through install day and cure time.
- Check the material delivery date. Delivery should land inside the acclimation window, not the day of install.
- Clear the work area. Furniture out, wall decor down, doorframes and wall corners protected along the route.
- Contain pets and children. Plan the contained zone or the sitter before install morning.
- Hand over the written subfloor notes. Photos and tape marks go to the installer before the walkthrough.
- Note the cure window. Write it down where everyone in the house can see it.
- Set aside a staging area. A cleared garage, hallway, or spare room for furniture and leftover material.
- Confirm the room order. For a whole-home job, review the sequence with the installer before work begins.
The day-of list is short on purpose. If the two weeks before went right, install day is mostly a matter of confirming the environment, handing over the notes, and staying out of the curing room. If you’re planning a project and want the schedule built around your home, Las Vegas homeowners can request a free estimate to get the plan in writing.
Common Mistakes to Avoid
- Acclimating material in the garage. Garages in Las Vegas swing far hotter and drier than the conditioned interior. The material ends up acclimating to the wrong room, and the gapping shows up a month after install.
- Turning off the HVAC during the work. The system keeps the floor’s environment stable. Shutting it off to “let the house air out” defeats the acclimation plan and slows adhesive cure.
- Skipping the subfloor walkthrough. Soft spots, humps, and squeaks found on install morning become change orders. Note them at the estimate and they land in the written price.
- Moving furniture without protecting walls and doorframes. Damage during the move is far more common than damage during the install, and it’s usually avoidable with cardboard and tape.
- Walking on a curing floor. Adhesive and finish cure windows are hard cutoffs. A single trip across the room during cure can leave footprints and lift edges.
- Letting pets have the room during install week. Grit on paws pressed into adhesive or finish leaves marks that don’t come out.
- Not asking for the schedule in writing. Acclimation windows, cure times, HVAC setpoints, and room sequence belong in the estimate. If you don’t see them, ask.
See the difference
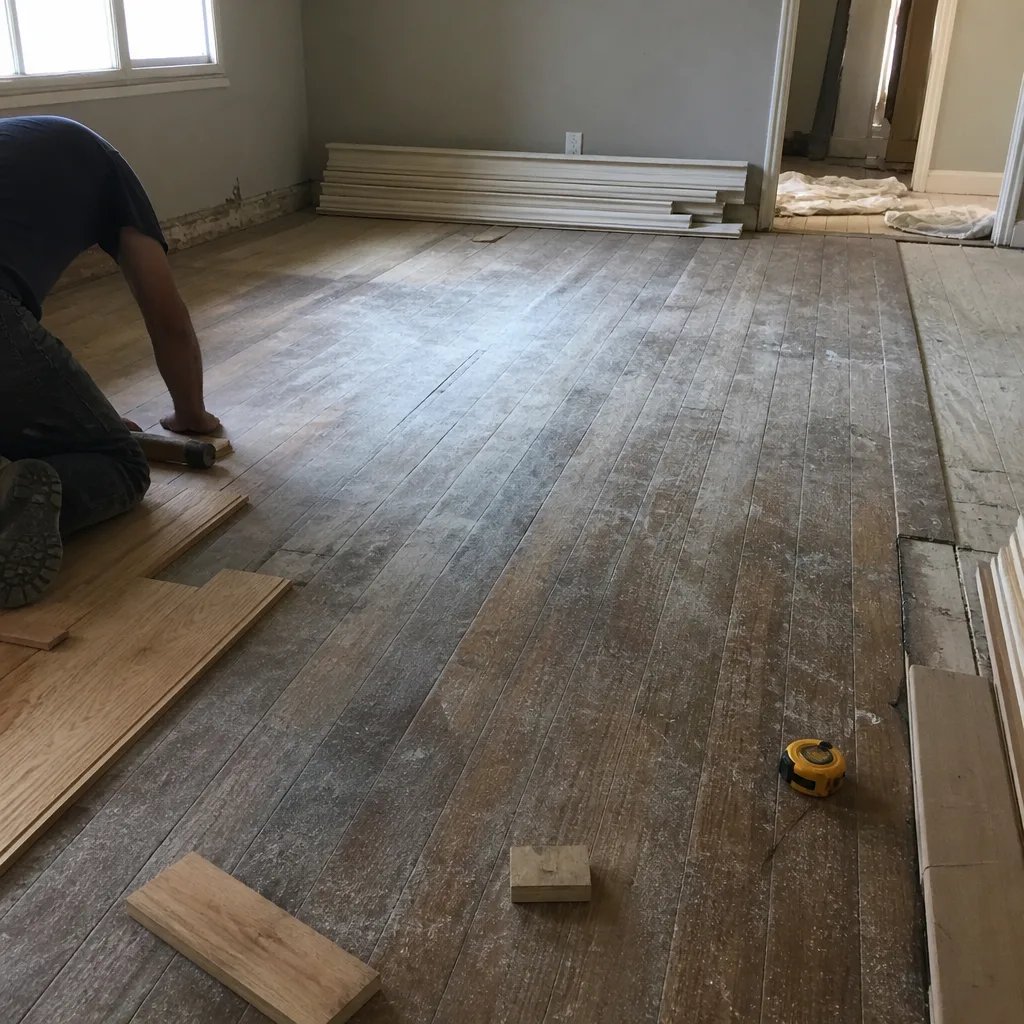 Before
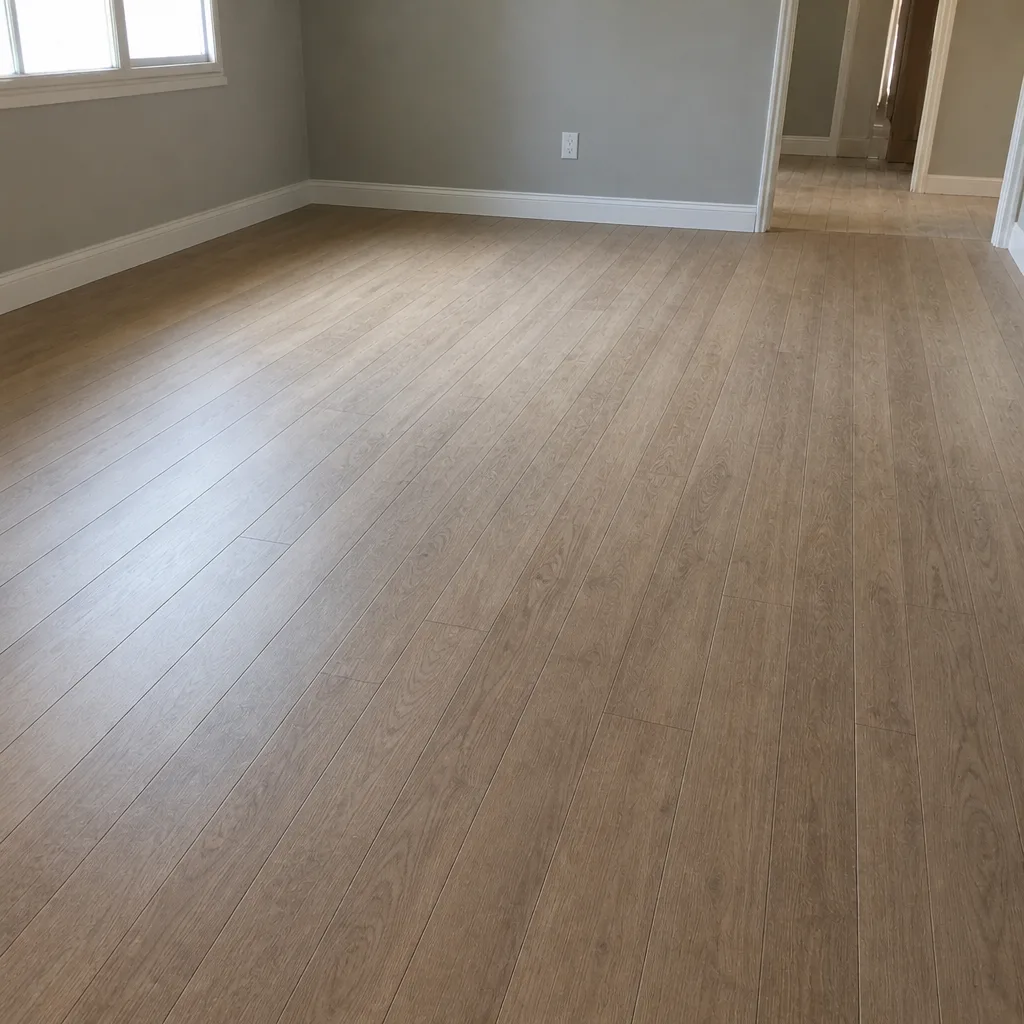 After
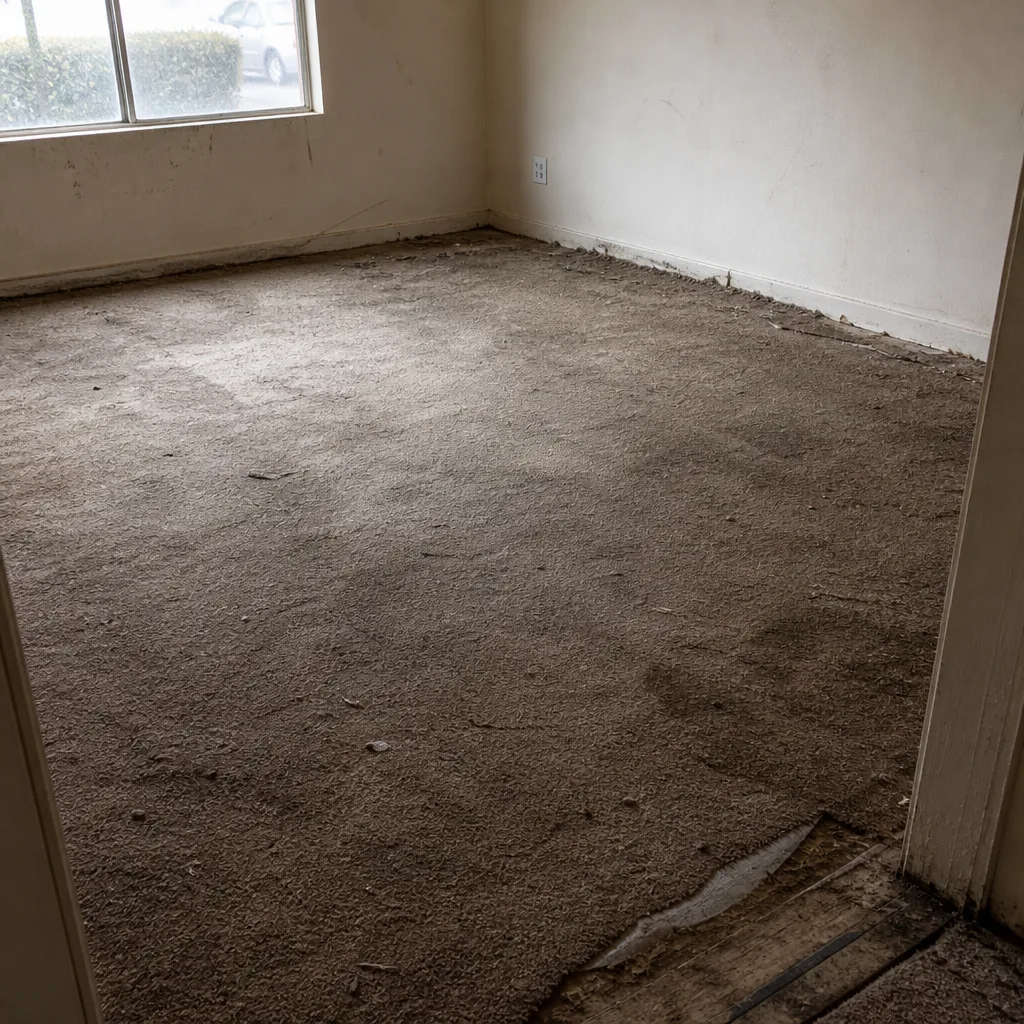 Before
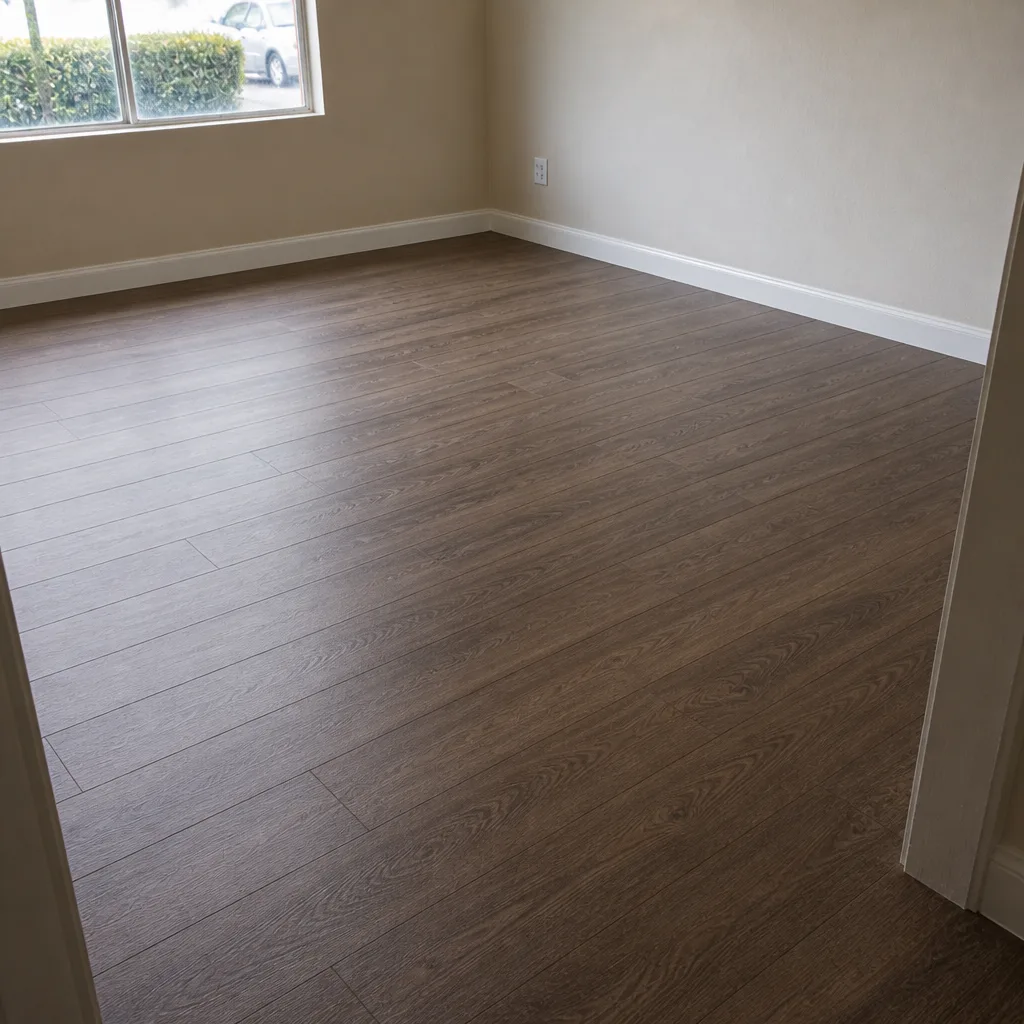 After
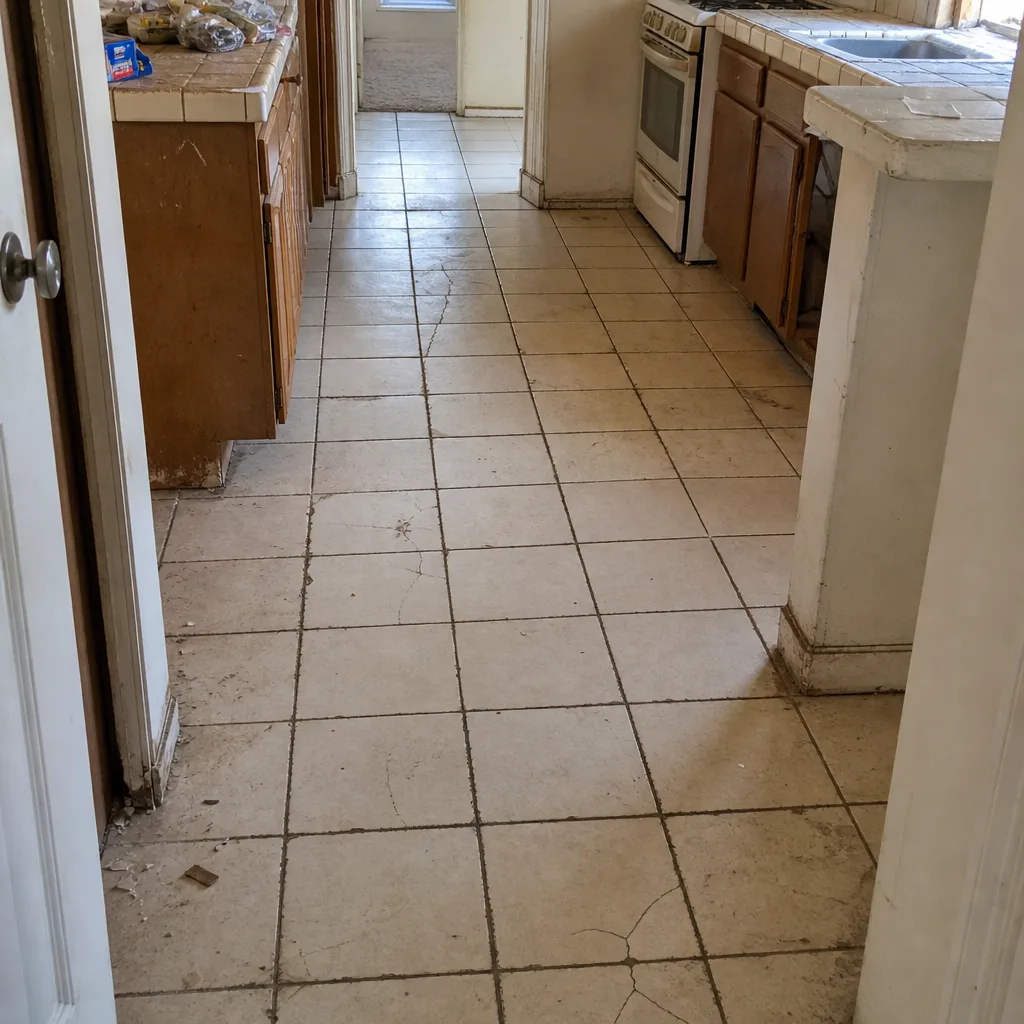 Before
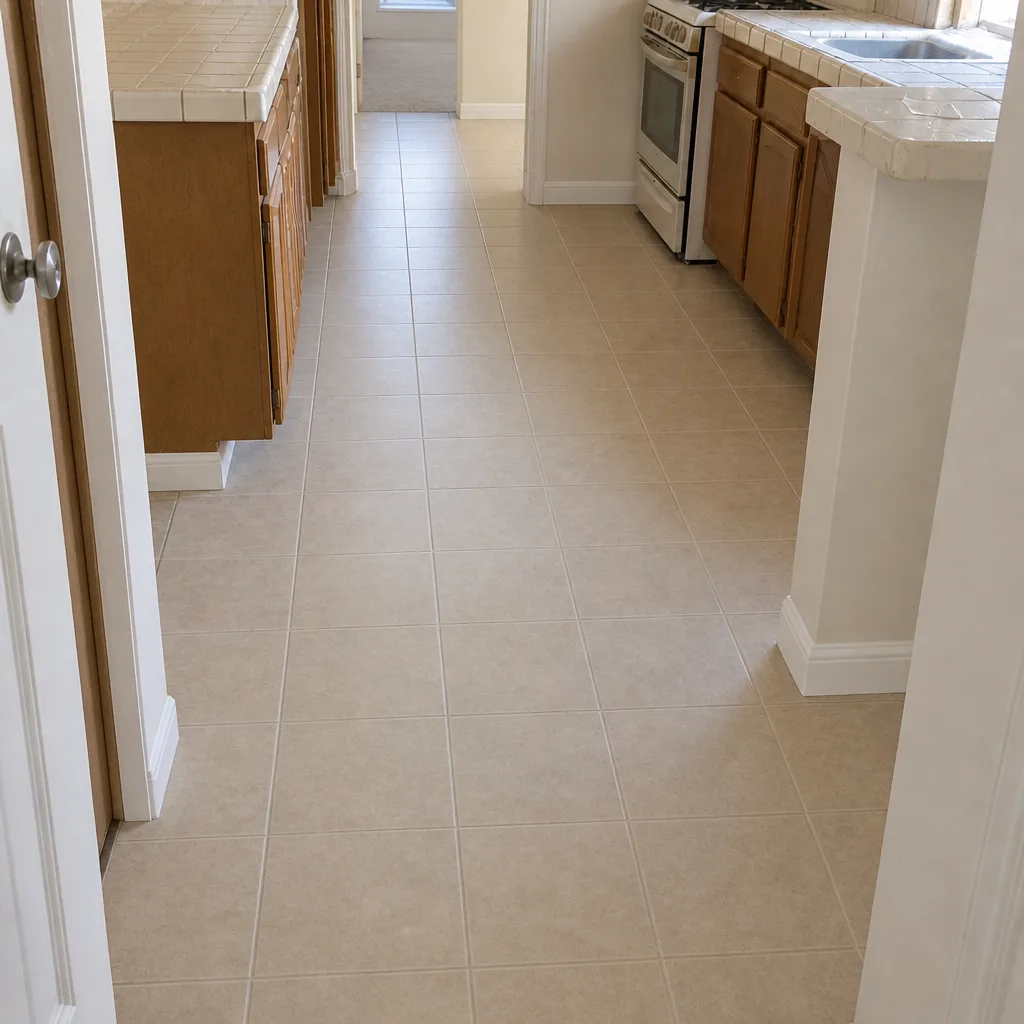 After
When to Call a Professional
Some prep is homeowner work: clearing furniture, protecting doorframes, containing pets, confirming the HVAC setpoint. But a few situations call for an installer’s eye before install day. If you see subfloor soft spots, uneven areas, or moisture staining, get a professional assessment before you commit to a material. If your HVAC is failing or short cycling, resolve it before acclimation starts. If you can’t confirm the acclimation window for your specific product, ask. And if the room is going to be closed off during cure, confirm the sequence so the schedule fits the household.
Las Vegas Flooring Installation offers free estimates in Las Vegas. We install Shaw, Mohawk, COREtec, Pergo, LifeProof, Mannington, Armstrong, Daltile, and Karndean, across carpet installation, tile flooring installation, and hardwood refinishing. If you want a plan built around the floor you’ve already chosen, call (888) 268-1308.
Frequently Asked Questions
Plan for the manufacturer’s stated acclimation window in your product instructions, and in Las Vegas plan on the longer end of that window rather than the shortest allowed. Interior desert air is often much drier than the manufacturing environment, and the floor needs time to reach equilibrium with the room. The written estimate from your installer sets the exact number for your product.
Yes, move everything that can leave the room before install morning. Group anything that must stay in one corner and off the floor so the installer can work around it. Protect doorframes, wall corners, and any stair railings along the path while moving.
Tell your HVAC technician the install is coming and ask for a steady temperature and humidity target you can hold through install day and cure time. Get the system inspected and running properly first. Then pass the setpoint plan to your flooring installer so it goes into the written schedule.
Schedule deliveries after the install and the cure window. A delivery team moving through a curing floor can undo the work. If you have to receive something mid-week, hold it in a room outside the work area and move it once the floor has cured.
It applies to any home in Las Vegas and the surrounding valley, whether it’s on a slab or a raised foundation. Slab homes have different moisture behavior from raised foundations, and the subfloor inspection step should account for that. The acclimation and HVAC advice is the same.
It applies to any of the nine brands we install: Shaw, Mohawk, COREtec, Pergo, LifeProof, Mannington, Armstrong, Daltile, and Karndean. The product instructions set the acclimation and cure windows for each one. Call (888) 268-1308 for a free estimate if you’d like the schedule put together around the product you’ve chosen.
Water-resistant flooring handles surface moisture better, but the preparation steps are the same. The subfloor still has to be inspected, the material still has to acclimate in the interior, and foot traffic still has to stay off adhesive during cure. Water-resistant isn’t waterproof, and standing water or moisture from below still has to be dealt with.
The Bottom Line
The two weeks before installation day decide more about the finished floor than the day itself. Bring material inside to acclimate, plan the acclimation window toward the longer end of what the product instructions allow in a Las Vegas home, keep the HVAC steady through install and cure, note subfloor issues before the estimate becomes a quote, and protect walls and doorframes while you clear the room. Keep pets and kids out of the curing floor. Get the schedule in writing. If the plan fits the house, the floor fits the plan.
If you’d like the schedule built around your home, carpet installation or any other floor we work with is quoted in writing before work starts. So is tile flooring installation and hardwood refinishing. Nine trusted brands, one installation team, and one written plan.
Call (888) 268-1308 for a free estimate. We answer 24/7. Fast dispatch from 7am to 7pm, Sunday through Friday.
Written by the team at Las Vegas Flooring Installation.